Backpacking Photography Gear Tips
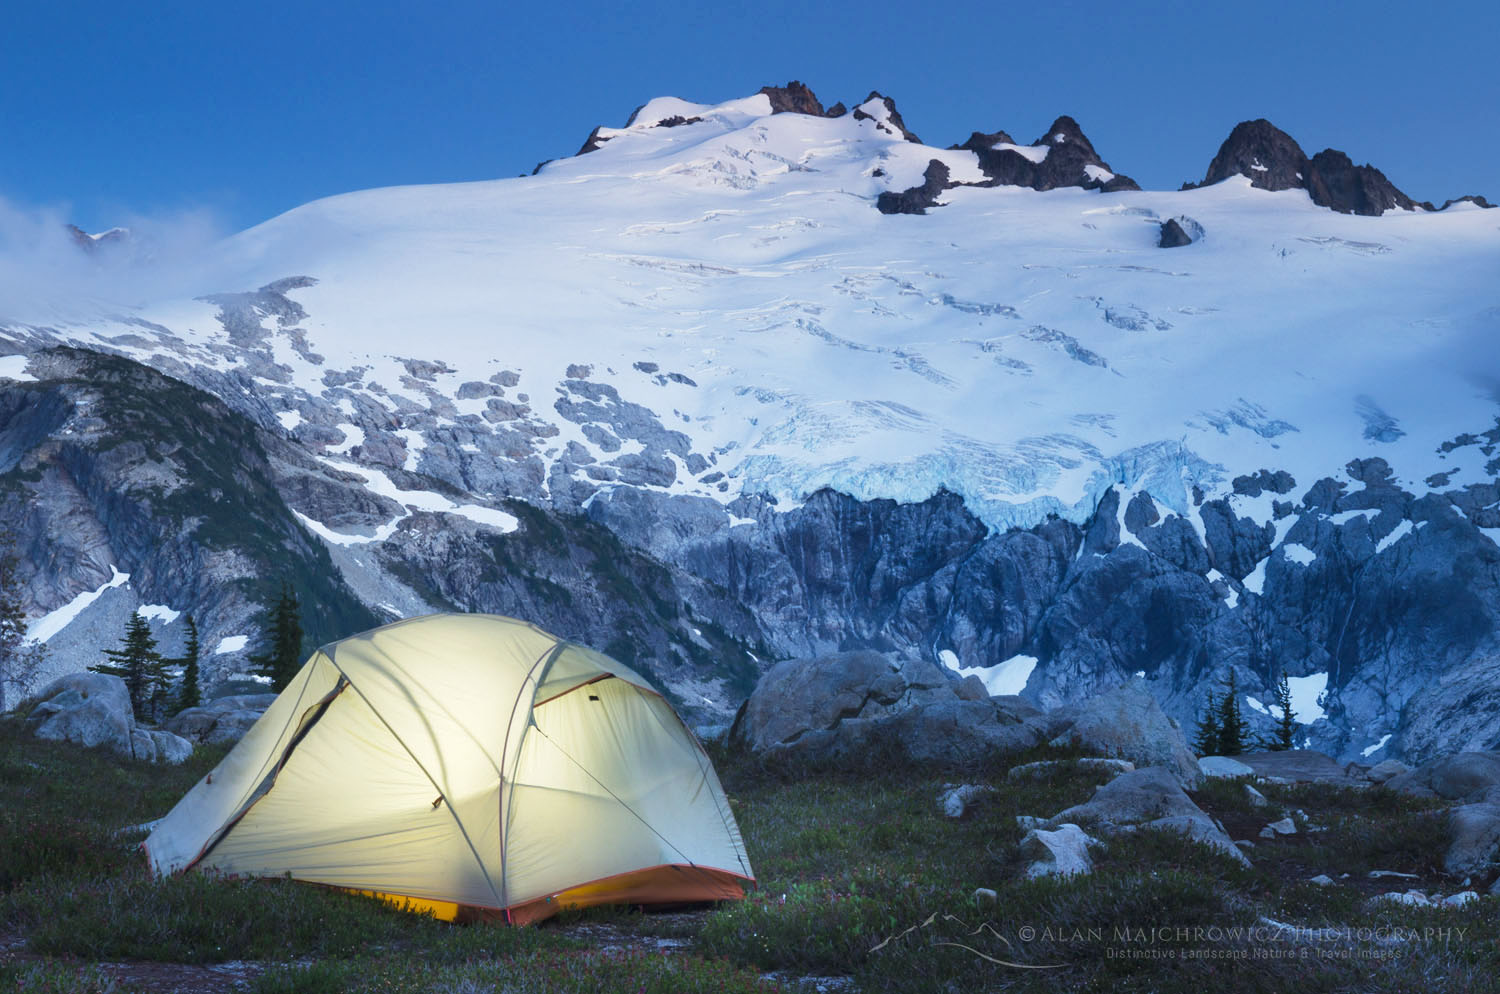
 Bugaboo Provincial Park British Columbia
For most people bringing back photos from a backpacking trip is essential. Who doesn’t want to share their adventure with friends and family on the social media beast?
The big question is what is the end use for those photos, and what photo gear should you take to meet that end? Ask 100 photographers that question and you’ll get 100 different answers. And there really are no wrong answers here.
For the purpose of this post, I’ll focus on backpacking photography gear tips for photographers that may be in the advanced amateur to aspiring pro levels.
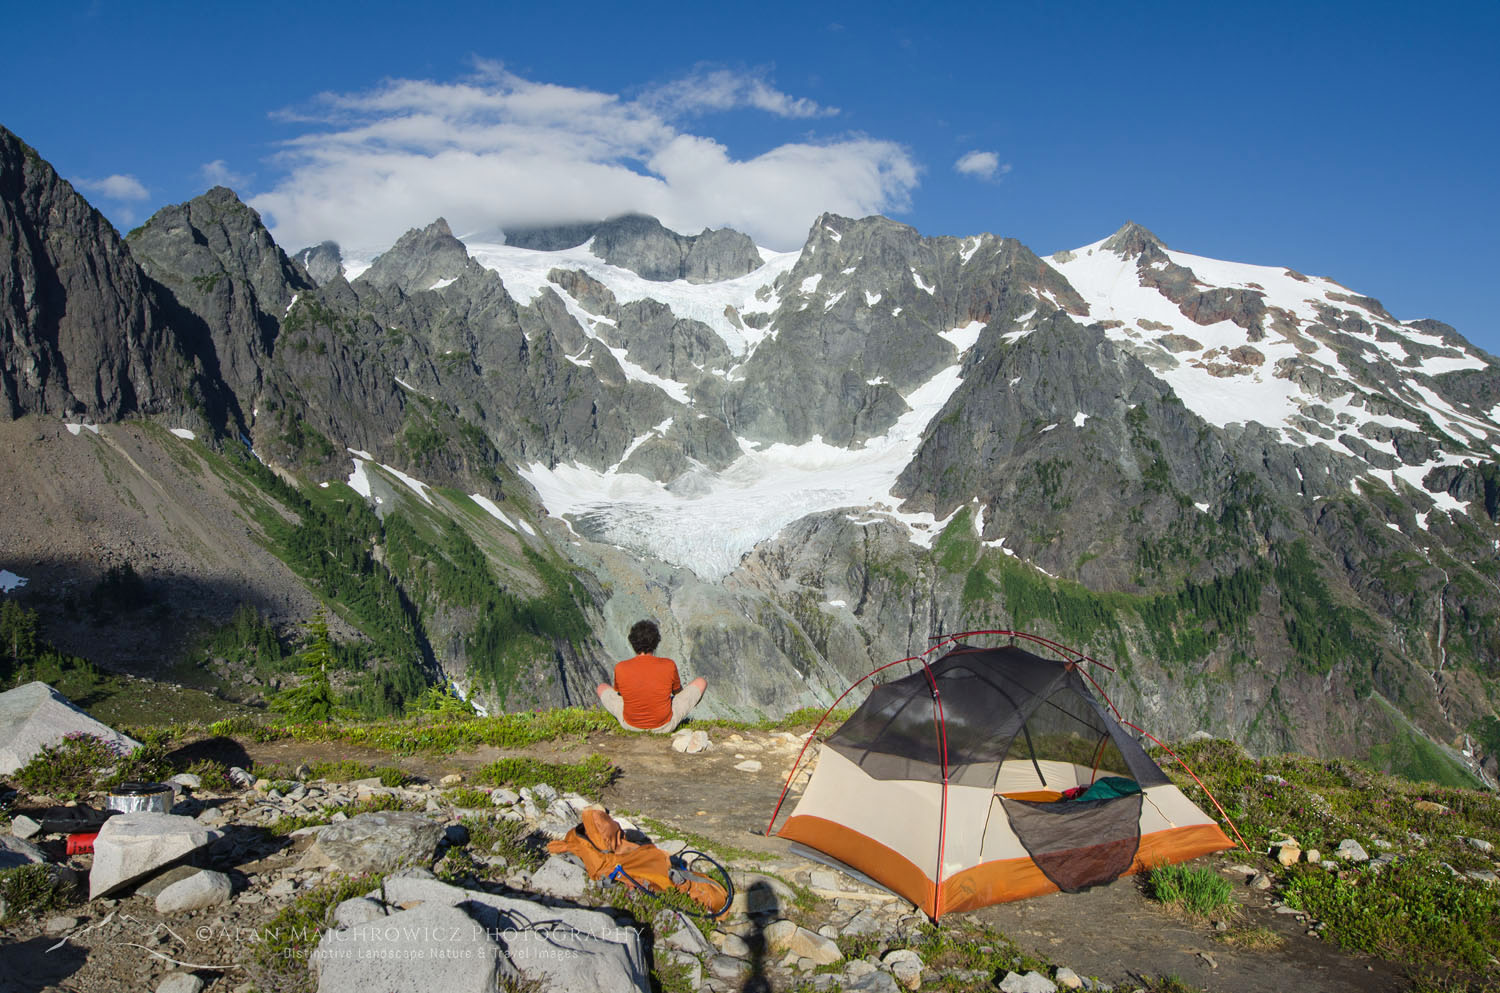
 Mount Baker Wilderness North Cascades
It’s All About Weight
Get used to it, if you’re into serious photography while backpacking your pack will be heavy, period.
Only you can determine how much weight you can comfortably carry and for how far. There are endless variables that determine what you should or shouldn’t bring, such as photography goals, trip length, elevation gain, trail or off-trail routes, and seasons, to name a few.
Basically though, carrying too much weight can turn your trip into a grueling muscle cramping ordeal. And at the end of the day, you won’t have any energy left for photography. Believe me, I know what I’m talking about here. For 20 years I lugged around a 4×5 film camera with four lenses, 18 film holders, a film-changing tent, extra film, a light meter, a tripod, filters, etc. All this photo gear alone was well over 35 pounds.
So here are my gear tips for helping to make your backpacking photography trip more successful and enjoyable.
Disclaimer: The following tips are offered from my personal experience and preferences after many years of backpacking photography. What works for me may not work for you.
 Backcountry camp North Cascades National Park
Photo Gear
There isn’t much you can do here for weight savings. You can’t shave off pieces of your camera or lens to cut down on weight. And this isn’t the category for scrimping on quality to save weight. My choice of photo gear may be on the heavy side, but it ensures high-quality results.
-
Camera:
One camera body. The best you can afford. It doesn’t matter if it’s digital or film or, which brand, as long you can change lenses. Make sure it has a high-quality sensor with enough megapixels sufficient for your end-use. A 20-megapixel body may be good enough for social media sharing, but not probably for making large-format fine art prints.
Pro Tip: Pro or Prosumer level cameras are much more rugged, and have better weather seals than consumer-level cameras. Something to consider if you regularly visit dusty, and or rainy environments, or are hard on your gear.
My Gear:
Nikon D850 Yes, it’s heavy, but it’s well-built with all the features I need and more. Its 45.7-megapixel sensor is outstanding for night sky photography and mural-size prints.
Really Right Stuff L Plate Used for quick release in conjunction with Really Right Stuff Tripod Ballhead.
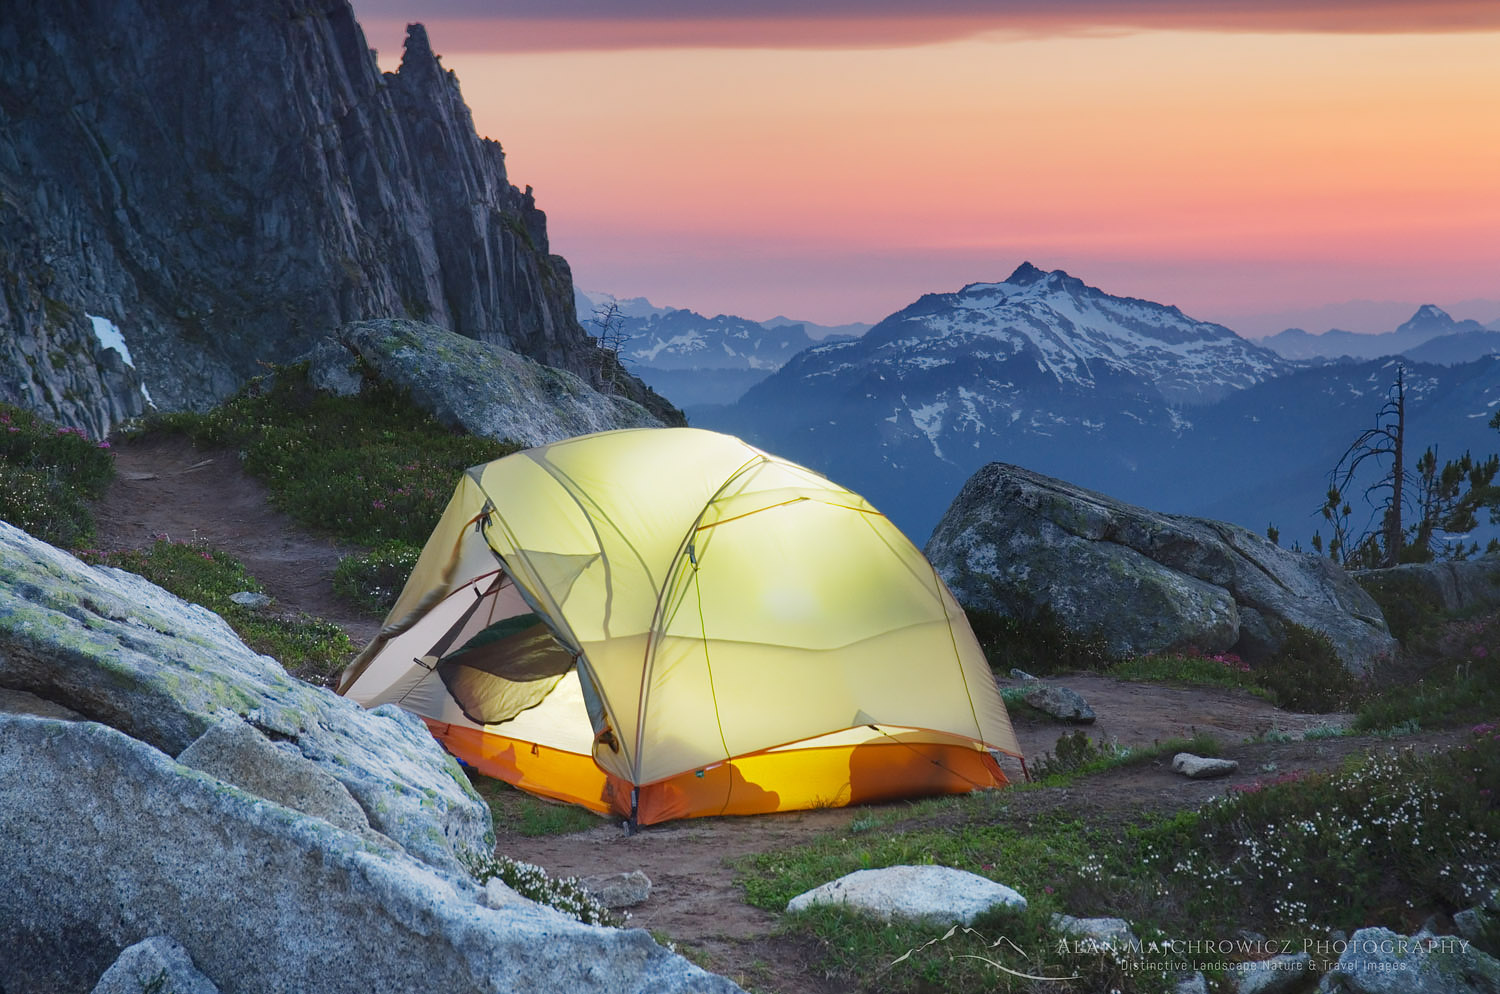
 Illuminated tent, Sawtooth Mountains Idaho
-
Lenses:
Wide or ultra-wide to short telephoto lenses will cover most situations. Again, go with the highest quality you can afford. It would be ideal to bring just one zoom lens with a focal length of 20-200mm. However, the quality of such a lens may not be optimum.
Many photographers will swear by the quality of prime lenses, but for our purpose bringing an armload of them isn’t practical. One wide-angle zoom lens, plus a normal to short telephoto zoom lens would be a good option.
Pro Tip: High-quality lenses are always more important than the camera body. The most expensive camera or post-processing editing app can’t make up for an inferior-quality lens.
My Gear:
Nikon 14-24mm 2.8 This lens is considered by many landscape photographers to be the gold standard of wide-angle zooms. I can attest that it is extremely sharp, and has minimal distortion and chromatic aberration.
Nikon 24-70mm 2.8E ED VR There are arguably smaller, lighter-weight, and cheaper lenses in this focal length. But for me, this lens has proven its worth many times over. It’s tack sharp, and the VR feature is outstanding for handheld work.
Nikon 70-200mm 2.8E FL ED VR Again, it’s a heavy and expensive lens, but for me, its high-quality glass and features are worth every ounce.
-
Tripod:
A tripod is an essential piece of photo gear. Night photography would be impossible without it. So would close-ups of flowers, long exposures of flowing water, and techniques such as focus stacking.
A tripod is also one item where you may be able to get away with choosing a lighter-weight model. This is especially true if your camera body and lens combination is on the lighter side.
Many manufacturers offer tripods with three or four-section legs. I prefer three, simpler, fewer parts that can fail. Also, make sure your tripod is tall enough for your needs. Carbon fiber tripods are your best option, they’re slightly lighter than metal and very durable. They also won’t freeze your hands in cold weather light metal does.
In recent years ball heads have become the standard, and I find them to be a vast improvement over older-style handles and knobs.
Pro Tip: Do not opt for an inexpensive poorly-made tripod with plastic components! They are not stable and break very easily. I was once in desperate need of a replacement tripod while on location. All I could purchase was a cheap lightweight model. Even with everything locked down as much as possible, it was like using a wet noodle to support my camera!
My Gear:
Gitzo GT 1532 Mountaineer Series 1
Really Right Stuff BH-55 Ballhead with quick release plate.
 Mount Baker Wilderness North Cascades
-
Filters:
Polarizing Filter. Probably one of the most indispensable filters to bring along. Just be careful not to overdo the effect of darkening a sky. Also, keep in mind their limited effect when using wide-angle lenses.
Graduated Neutral Density Filters. I still find them extremely useful. But If you’re looking to save weight you could leave these at home, and produce their effect in post-processing. They are not always the best option in certain circumstances. However, when possible I will always prefer to use them to make the best exposure in the field, and not rely on post-processing techniques.
My Gear:
B+H Polarizing Filter
Lee Graduated Neutral Density Filters: Four filters; 1 & 2 Stop soft and hard edge.
Lee SW150 Mark II Filter System, necessary to accommodate Nikon 14-24mm lens
-
Miscellaneous Gear
Extra Batteries. I always take three fully charged batteries, one in the camera and two extras. On a recent 10-day backpack, I still had about half power left on my last spare. Be aware that mirrorless cameras may consume more battery power.
Extra Memory Cards.
Remote Shutter Release. Weighs next to nothing and helps in reducing camera shake.
Micro Fiber Cleaning Cloth. Essential for cleaning lenses and filters
Camera Chest Pack. I find this optional item to be extremely useful. Not only does it give me quick access to my camera while on the trail, but it also has room for small items such as trail snacks and maps.
My Gear:
Lowepro Toploader Pro 75 AWII
 Backpacker Glacier Peak Wilderness
Backpacking Gear
Here is where you’ll have the most opportunities for saving weight while on the trail. It’s also where you can spend or save lots of money. Once again how light you go depends on your destination, how long you will be out, and what season you’ll be backpacking in.
Going Ultralight is the catchword of the day, and gear manufacturers are cashing in on it big time. Just be aware that ultra-expensive ultralight gear may not be ultra-durable, especially when the weather turns nasty, and after a few seasons of use.
Absolutely nothing is worse than sitting out wind, rain, and or snow for days at a time in a flimsy leaking tent.
Nearly every tent, backpack, or rain jacket on the market today will perform well in adverse conditions, at least for their first season. What gear reviewers won’t tell you is how well they hold up after a few seasons of use!
-
Backpack
A high-quality good fitting backpack is one of the most essential pieces of gear you’ll need for a successful and enjoyable backpacking trip.
Pro Tip: Forget that fancy expensive photo gear backpack. They are designed foremost to protect your camera and lenses while on the trial, everything else is secondary. You’ll quickly find that out when you’re several miles into a steep climb when that backpack has suddenly turned itself into a medieval torture device.
Go with a pack specifically designed for backpacking. Use soft items in your pack, like clothes to protect your gear. Visit a reputable outdoor gear store and try on different packs. Speak with a knowledgeable salesperson about what you need, a good one will help choose and fit the ideal pack. Keep in mind that to accommodate all your photo gear you may need a larger pack than you initially think.
Pro Tip: Do not buy a backpack from an online retailer until you have already physically checked it out and tried it on! Ideally, borrow a friend’s for a short trip first to see if it works for you.
My Gear:
Osprey Zenith 88 Osprey makes high-quality packs for every type of adventurer. This is the most comfortable pack I’ve ever used. Its suspension system is much more comfortable for carrying heavier loads than its popular Aether 85. Perfect size for trips over three or four days in length. Although it is a bit on the large size for a weekend trip.
 Backcountry camp North Cascades
-
Shelter
A good shelter is the next most important piece of backpacking gear.
If you’re traveling light and fast, and are only concerned about making miles in gorgeous summer weather without any flying insects to bother you, then even a thin nylon tarp will do.
But it’s a different story when you’re out for a week and the weather turns sour, with mosquitoes, flies, and gnats out in biblical proportions. Then you’ll wish for something a bit more substantial to protect you and your camera gear.
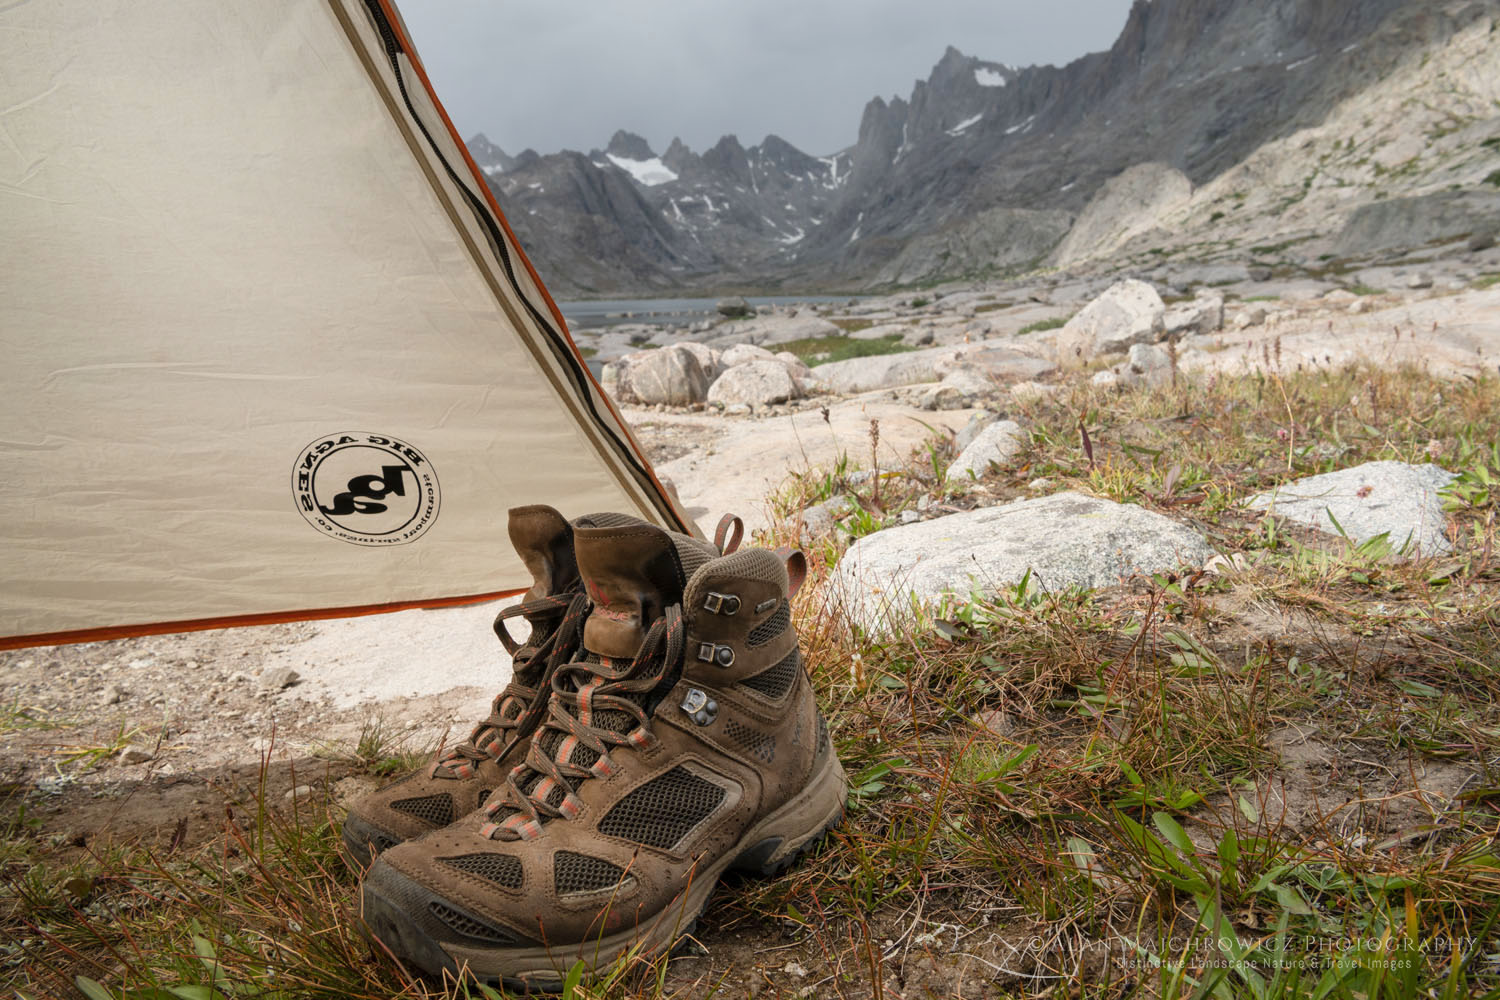
Look for a lightweight tent with a silicone-treated rain fly. I also like a tent with a vestibule large enough to protect items you don’t want inside the tent. Like boots and a dirty backpack.
My Gear:
Big Agnes Copper Spur 2. Super lightweight, easy to pitch, with two doors and large vestibules. This tent also comes in a one-person size, but I like a little more elbow room.
-
Sleeping Bag and Pad
For years I steered clear of down bags, mainly because I felt they were a poor option in the rainy Pacific Northwest. However, now I’m an enthusiastic supporter of down. They’re like sleeping enveloped in a warm cloud. And they’re generally much lighter and more compressible than synthetic bags. A high-quality down sleeping bag is not cheap so look at it as an investment. However, with proper care, a well-made bag will last for many years. Feathered Friends and Western Mountaineering make some of the finest bags around.
Sleeping pads are essential for keeping those roots from poking into your back while sleeping, or for insulation when camped on snow. Options here are either a foam pad or an inflatable. I’ve used Therm-a-Rest pads exclusively for many years. They are incredibly comfortable with adjustable firmness, are lightweight, and compress down very well.
My Gear:
Western Mountaineering Badger
Therm-a-rest Classic
-
Stove
Another essential item for any overnight trip. The days of preparing your meals over an open campfire are long gone. Campfires above timberline are banned just about everywhere, and for many good reasons. Besides, cooking over an open fire takes an long time and is messy and dangerous.
The two options are liquid white gas (Coleman Fuel) and butane mix canisters. Canister stoves are all the rage right now and some are much better than others. The biggest drawback with canister stoves is that they lose their power output in colder weather. You’ll need to keep the canisters warm for maximum performance.
Liquid fuel stoves perform well at any temperature and do so to the last drop of fuel. For this reason, they are the better option for winter trips. They weigh only slightly more than canister stoves, and there are no empty canisters to dispose of. However, canisters can be recycled in some areas if prepared properly. Check with your local recycling facility for regulations.
My Gear:
MSR Reactor I recently switched from my trusty MSR XGK stove to the reactor, and so far I have been very pleased. This stove system with fuel canisters is lighter weight, and it boils water very quickly. However, one drawback is that in cold weather it is necessary to keep fuel canisters warm. Ideally, you can accomplish this by keeping them in your sleeping bag at night.
-
Footwear
Proper footwear is only second to a good backpack for comfort on the trail. There is a strong debate on leather boots vs lightweight trail runners. For years I’ve sworn by stiff leather boots with lugged soles. But on recent trips, I’ve gone with lighter-weight boots, and will probably move more toward trail runners shortly.
Pro Tip: Be aware that if you’re backpacking in the mountains early in the season lightweight shoes may not be the best option. Hiking in snow for only a few minutes will result in very wet cold feet. On steep snow slopes, you also won’t get much traction, and step-kicking will be very difficult.
-
Other Gear
Here is a list of other necessary items. They’re all important, but I won’t go into detail about them since it would require a separate article.
Weather appropriate clothing
Cookware
Water bottle or hydration bag
Water filters or other purification methods
Food, including trail snacks
Map
Headlamp
Ten Essentials
 Height of the Rockies Provincial Park
In Conclusion
This should provide you with enough gear tips to begin planning for your next backpacking photography trip. As I mentioned many times in this article, cutting down on weight is important. But so is your comfort level. This isn’t a contest to see who can have the lightest pack and hike the farthest. So what if you choose a slightly beefier tent, or need to bring another lens? It’s your trip and you can always make adjustments to your preferences in the future.
Now get out there and have fun!
Also, check out these blog posts for hiking and backpacking, and photography destinations:
Mount Baker Wilderness Destinations
Hannegan Peak Ruth Mountain Mount Baker Wilderness
Lake Ann Ptarmigan Ridge Mount Baker Wilderness
Thanks for reading, feel free to share this post with your friends and colleagues! And make sure to check out my next post in this series: Backpacking Photography Tips
 Titcomb Basin Wind River Range
If you found reading Backpacking Photography Gear Tips to be enjoyable and informative please feel free to share it with friends and family
Ever wonder what it’s like photographing landscapes and nature for a living? Check out my blog post:
What is it like to be a Professional Landscape Photographer?
All photos appearing in Backpacking Photography Gear Tips are available for Commercial Licensing and Fine Art Prints
Want to learn more? Take your Creative Photography to the next level with Private Instruction and Guided Photo Tours.
Backpacking Photography Gear Tips


